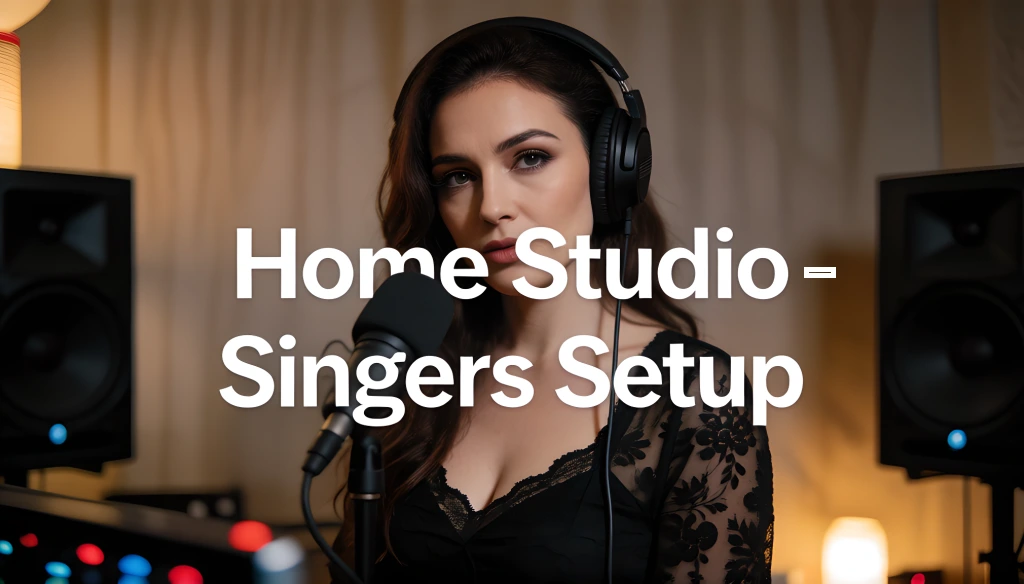
A home studio setup for singers can be built for as little as $200, and you don't need a spare room, expensive gear, or any technical background to get started. With a microphone, a way to connect it to your computer, free software, and a quiet corner with some soft surfaces, you can record professional-sounding vocals from your bedroom today.
This guide walks you through every step, from picking your room to recording your first take.
We'll cover what gear you actually need (and what you can skip), how to treat your space so your recordings don't sound like a tin can, which software to use, and how to connect everything.
We'll also give you 3 complete budget builds so you know exactly what to buy at $200, $500, and $1,000. By the end, you'll have a working home studio and the confidence to use it.
Some links on this page are affiliate links. If you buy through them, we may earn a commission at no additional cost to you.
What You Actually Need (The Essentials)
Let's clear up the confusion first. Here's the honest list of what a singer needs to record at home:
Must have:
- A quiet room or corner
- A microphone
- A way to connect that mic to your computer (interface or a USB mic)
- A computer
- Recording software (a DAW)
- Closed-back headphones
- A pop filter
Nice to have later:
- Studio monitors
- Acoustic treatment panels
- A boom arm
- A reflection filter
You do NOT need:
- A spare room or dedicated studio
- A mixing console
- Expensive outboard gear
- A $2,000 microphone
Many hit records were recorded in bedrooms and closets. The gear matters, but your room and your voice matter more.
Step 1: Pick the Right Room
Your room shapes your sound more than almost anything else. The goal is to find a space that's quiet and not too "live" (echoey).
What to look for:
- Quiet: Away from street noise, AC units, refrigerators, and busy parts of the house.
- Soft, not hard: Carpet beats tile. A room with a bed, couch, and curtains beats an empty room with bare walls.
- Small to medium: Big empty rooms echo. Smaller rooms with stuff in them sound tighter.
- Not the bathroom or kitchen: Hard tile surfaces create harsh reflections that ruin vocals.
The single best beginner space? A closet full of hanging clothes. The clothes act as natural sound absorption, and the small space kills echo. Plenty of pro vocalists have tracked entire albums in a closet.
If a closet won't work, a bedroom corner with the bed nearby and curtains on the window is a solid choice.
Step 2: Treat Your Space
Here's the most important tip in this whole guide, and most beginners get it wrong: treat the wall behind YOU, not the wall behind your microphone.
Most vocal mics are cardioid, which means they already reject sound coming from behind the mic. The real problem is the sound from your voice bouncing off the wall behind you and behind your body, then traveling back into the front of the mic. That's what makes recordings sound distant, hollow, and "roomy."
Quick treatment options, from cheapest to best:
- Closet recording: Free. The hanging clothes do the work for you.
- Moving blankets: Hang them on the wall behind you. About $30 for a few. They absorb mid and high frequencies, which is exactly where the voice lives.
- Mattress trick: Stand a spare mattress up behind you. Effective but bulky to set up.
- DIY blanket booth: Build a frame from PVC pipe and drape moving blankets over it. Around $80 to $150. Surrounds you.
- Acoustic foam panels: 2-inch thick panels mounted on the walls around you. Skip the thin 1-inch foam; the 2-inch absorbs about 50% more sound at vocal frequencies.
- Reflection filter: A curved shield that mounts behind the mic. Helpful as an add-on, but it won't fix a bad room by itself.
A few rules:
- Leave at least 12 inches between your mouth and any wall or panel. Too close causes muddy low-end buildup.
- Don't bother with egg cartons. They look like foam, but they barely absorb anything.
- Treat the ceiling too if it's low and hard.
You can build an effective DIY vocal space for $80 to $300. A pro studio spends thousands; you don't have to.
Step 3: Choose Your Computer
Good news: you probably already have what you need. Most laptops and desktops made in the last 5 to 6 years can run recording software just fine for vocals.
What matters:
- RAM: 8 GB minimum; 16 GB is comfortable.
- Processor: Any modern processor handles vocal tracks. Heavy mixing with lots of plugins benefits from more power.
- Storage: An SSD (solid-state drive) is faster and more reliable than an old spinning hard drive.
- Mac or Windows: Both work great. Macs come with GarageBand free; Windows users get free options too.
Our Top 3 Picks:
Lenovo Thinkpad E16 Gen3 - Windows 11 Pro, 32GB DDR5, Intel Core Ultra 7
Apple 2026 MacBook Air - M5 Chip, 16GB Unified Memory
Lenovo V15 - Windows 11 Pro w/Copilot, 16GB DDR5 Ram.
You do not need a brand-new computer to start recording vocals. If yours runs without lag, it's good enough.
Step 4: Pick Your Recording Software
The software you record into is called a DAW (Digital Audio Workstation). You do not need to spend money here.
Best free DAWs:
- GarageBand (Mac only): Free with every Mac. Surprisingly powerful, with built-in effects and plugins.
- Cakewalk by BandLab (Windows): Used to be a $500 pro DAW; now completely free and fully featured.
- Audacity (Mac, Windows, Linux): Simple and lightweight; great for basic recording and editing.
Best paid Pro DAWs (for when you're ready):
- Logic Pro (Mac, $200 one-time): Industry standard for vocal-led music.
- Avid Pro Tools: Studio Perpetual License - Studio 1 Year - Artist Perpetual License. Great for pop and electronic production.
- Reason Studios: Reason 13 Software. Lightweight, powerful.
- FL Studio: All Plugins - Signature - Producer. Popular in hip-hop and pop.
Start free. Learn the basics. Upgrade only when you hit a real limit. Also note: many audio interfaces come bundled with a free DAW license, so you might get one included with your gear.
For a deeper comparison, see our guides on Best DAWs and Best Free Recording Software for Singers.
Step 5: Get a Microphone
The microphone is the heart of your studio. You have two paths.
Path A: USB Microphone (Simplest)
A USB mic plugs straight into your computer. No interface needed. Perfect for beginners.
- Audio-Technica AT2020USB-X: Excellent first USB mic.
- Rode NT-USB+: Great preamp, clean sound.
- Shure MV7+: Has both USB and XLR, so it grows with you.
Path B: XLR Microphone + Interface (Better Long-Term)
An XLR mic gives you better sound and more room to grow, but it needs an audio interface to connect.
For untreated rooms, a dynamic mic is your friend because it rejects background noise:
- Shure SM58: Indestructible, reliable, great starter.
- Shure SM7B: Studio-grade warmth; needs a strong interface.
For treated, quiet rooms, a condenser captures more detail:
- Audio-Technica AT2020: The classic first condenser.
- Rode NT1 (5th Gen): Detailed and incredibly quiet.
If you're not sure, start with a USB mic or a Shure SM58. You can always upgrade later. For a full breakdown, read our Best Dynamic Microphones for Singers article.
Step 6: Get an Audio Interface
If you chose an XLR mic, you need an audio interface. This box turns your mic's analog signal into digital audio your computer can record.
Top beginner picks:
- Focusrite Scarlett Solo (4th Gen): One mic input; perfect for solo singers.
- Focusrite Scarlett 2i2 (4th Gen): Two inputs; the most popular interface in home studios.
- Universal Audio Volt 2: Has a vintage tube mode that adds warmth to vocals.
- PreSonus AudioBox GO: The cheapest decent option.
One key tip: if you buy a Shure SM7B, get an interface with at least 60 dB of clean gain (the Scarlett line handles this well). For the full breakdown, read our Best Audio Interfaces for Home Vocal Recording guide.
If you went with a USB mic, skip this step entirely. That's the whole appeal of USB.
Step 7: Get Headphones
You need closed-back headphones for recording. Closed-back means the sound is sealed in, so your backing track doesn't bleed into the mic.
Top picks:
- Sennheiser HD 280: A studio classic.
- Audio-Technica ATH-M50x: The most popular tracking headphones worldwide.
- Beyerdynamic DT 770 Pro: Comfortable for long sessions.
- Lewitt Audio LW6: Premium Wireless Studio Headphones
Important: Do not record with open-back headphones or speakers. The sound leaks straight into your mic and ruins your takes. Save open-back headphones and monitors for mixing.
Step 8: Studio Monitors (Optional to Start)
Studio monitors are speakers built for accurate sound. They're for mixing, not recording. You can absolutely skip these when you start and mix on headphones instead.
When you're ready:
- PreSonus Eris 3.5: Great budget entry.
- KRK Rokit 5: The most popular monitor on the planet.
- Yamaha HS5: Honest, accurate, a studio classic.
Buy monitors in pairs. And remember, you don't need them on day one. Start with headphones and add monitors when your budget allows.
Step 9: Essential Accessories
These small items make a big difference:
- Pop filter ($10 to $40): Blocks the burst of air from "p" and "b" sounds. Get one. They're cheap and essential.
- Microphone stand or boom arm ($15 to $150): A desk boom arm like the Rode PSA1+ keeps your mic positioned perfectly and out of the way.
- XLR cable ($15 to $30): If you went the XLR route. Mogami and Canare cables are reliable; avoid the cheapest no-name cables.
- Shock mount: Often included with the mic; reduces vibration noise. The SM7B has one built in.
Read our suggestions on Pop Filters and Mic Accessories.
Step 10: Connect Your Signal Chain
Here's how it all goes together for an XLR setup:
- Mic to interface: Plug the XLR cable into your microphone, then into the interface's input.
- Interface to computer: Connect the interface to your computer with the USB-C cable.
- Headphones to interface: Plug your headphones into the interface's headphone jack, not your computer.
- Phantom power: If you use a condenser mic, switch on the 48V phantom power. Dynamic mics don't need it.
- Open your DAW: Create a new audio track and select your interface as the input.
- Set your gain: Sing your loudest part and adjust the interface gain so it peaks around -12 dB to -6 dB. Never let it hit the red.
- Enable monitoring: Use the interface's direct monitoring so you hear yourself with no delay.
- Hit record.
For a USB mic, it's even simpler: plug the mic into your computer, open your DAW, select the mic as your input, set your level, and record.
Always warm up your voice before tracking. Cold vocals sound thin and tight, and no plugin fixes that.
What to Spend on Your Home Studio Setup
You can build a working home studio setup at almost any price, so pick your ceiling first and the gear second. The ten steps above stay the same at every budget; only the parts change.
If $200 is your limit, how to record vocals under $200 lays out three complete builds and the compromises worth making. If you can spend $350 to $850, our guide to the best home studio equipment for singers splits it into three tiers and explains why the treatment budget should grow faster than the mic budget.
Whichever budget you choose, you can buy the gear through Zzounds, and their interest-free payment plans let you spread the cost over several months.
Common Beginner Mistakes to Avoid
Learn from other people's mistakes:
- Treating the wrong wall. Treat behind you, not behind the mic.
- Recording too loud. Hot, clipped recordings can't be fixed. Keep peaks around -12 dB to -6 dB.
- Recording with speakers on. The sound bleeds into the mic. Use closed-back headphones.
- Skipping the warm-up. Cold vocals sound bad, and no mixing fixes it.
- Buying gear before treating the room. A $1,000 mic in a bad room loses to a $100 mic in a treated one.
- Using egg cartons for treatment. They don't work. Use moving blankets or real foam.
- One take and done. Always record 3 to 6 takes and pick the best parts.
- Ignoring vocal training. The biggest upgrade is your actual voice. Gear can only do so much.
That last point is the big one. Programs like Roger Love's vocal coaching, 30 Day Singer, Singorama, and Singing Carrots build the instrument itself, so you walk into your home studio already sounding better.
Frequently Asked Questions
How much does it cost to set up a home studio for singing?
You can build a working home studio for around $200 with a USB mic, headphones, and free software. A solid intermediate setup runs about $500, and a serious home studio lands near $1,000.
Do I need a soundproof room to record vocals at home?
No. Soundproofing (blocking outside noise) and acoustic treatment (controlling reflections inside) are different things. Most singers just need basic treatment, like moving blankets or a closet full of clothes, not full soundproofing.
Can I record professional vocals in a bedroom?
Yes. Many hit records are tracked in bedrooms and closets. The room treatment, mic placement, and your voice matter far more than the size of the space.
What's the best microphone for a home studio?
For untreated rooms, a dynamic mic like the Shure SM58 or SM7B works best because it rejects background noise. For quiet, treated rooms, a condenser like the Audio-Technica AT2020 captures more detail. Beginners can also start with a simple USB mic.
Do I need an audio interface?
Only if you use an XLR microphone. USB microphones plug directly into your computer and skip the interface entirely.
Should I record vocals in my closet?
Yes, a closet full of hanging clothes is one of the best free vocal recording spaces. The clothes absorb reflections, and the small space kills echo.
What free software should I use to record vocals?
GarageBand, if you have a Mac, and Cakewalk by BandLab if you have Windows. Both are free, professional-grade, and great for vocals.
How do I make my home recordings sound better?
Treat the wall behind you, warm up your voice, record multiple takes, keep your levels out of the red, and use closed-back headphones. The source matters more than the plugins.
Final Thoughts
Building a home studio setup for singers is simpler and cheaper than most people think. You need a quiet space, some soft surfaces behind you, a microphone, a way to get it into your computer, free software, and closed-back headphones. That's it. Everything else is an upgrade you can add over time.
Start with what you can afford. A $200 USB mic setup in a treated closet will get you recording today. As you grow, add an XLR mic, an interface, monitors, and better treatment. The gear will improve, but remember the truth at the heart of it all: the singer matters more than the studio.
Pair your home setup with real vocal training, and you'll get results that far exceed your expectations.
For the full picture on recording, mixing, and releasing your music, head over to our Music Production for Singers guide.