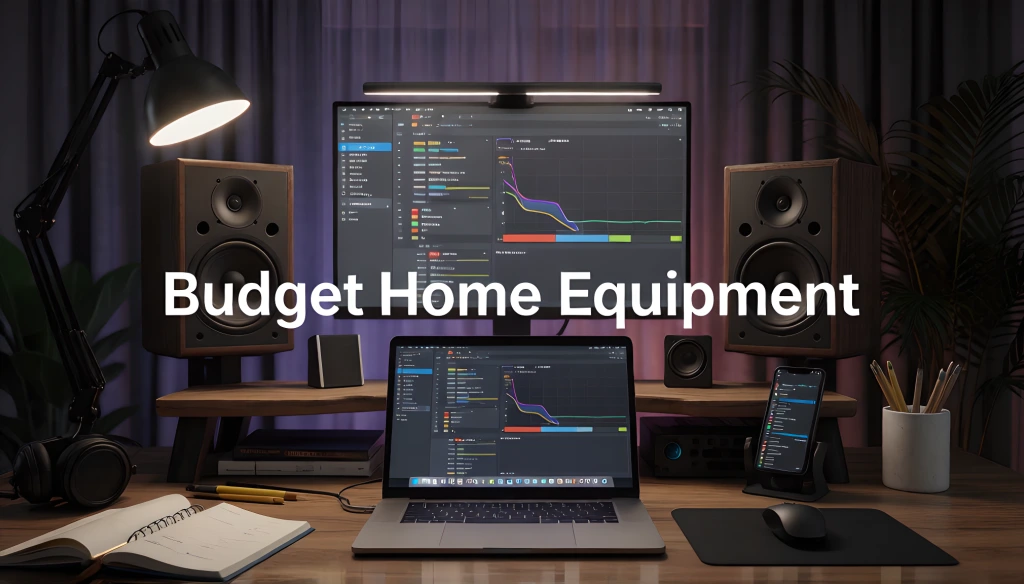
The best home studio equipment for singers is built across four separate purchases rather than one shopping trip, and it allocates a larger share of the money to acoustic treatment as the total budget rises rather than a smaller one. That second point is the one that surprises people. A better microphone does not make room problems less audible; it makes them more audible, because a more sensitive capsule captures your reflections in higher resolution. So the treatment budget has to grow alongside the mic budget, not shrink.
Below are three complete tiers from roughly $350 to $850, the specs worth buying on, and the sequence that stops you buying the wrong thing first.
Quick answer box
- Buy in four purchases over months, not all at once. Each one shows you the next bottleneck.
- Treatment share should rise with budget: about 32% at $350, 35% at $600, 40% at $850.
- Buy on specs, not model names. Direct monitoring, 32 to 80 ohm headphones, 2-inch panels.
- The boring items outlive the exciting ones. Spend up on stands and panels, down on your first mic.
- Past roughly $650 in a treated room, more vocal gear stops being audible.
Some links on this page are affiliate links. If you buy through them, we may earn a commission at no additional cost to you.
The Four-Purchase Build
Almost every guide to home studio equipment for singers hands you a shopping list and wishes you luck. The problem with a list is that you cannot know your real bottleneck until you have recorded something, so buying everything at once guarantees you spend money in the wrong proportions.
Spread it across four purchases instead.
Purchase 1, around $120. Treatment and headphones. Before the microphone. Two to four thick panels or heavy blankets, plus closed-back headphones. You can record on a phone in the meantime, and you will immediately hear what a treated corner does.
Purchase 2, around $200. Microphone and interface. Now you have somewhere decent to put the mic, so the mic is worth buying.
Purchase 3, around $130. The unglamorous layer. Boom arm, shock mount, pop filter, XLR cable, and more treatment. This is the purchase people skip and then quietly suffer for, because a mic you cannot position properly is a mic you cannot use properly.
Purchase 4, around $150 to $400. Whatever has been annoying you. By now you know. Maybe it is monitors, maybe better headphones, maybe more absorption, maybe a second mic. The point is that your own frustration is a more accurate buying guide than any article, including this one.
If your ceiling is lower than this, the strict $200 version with different tradeoffs is in recording vocals under $200.
Home Studio Equipment for Singers: The Three Tiers
Same build order, three levels of ambition. Note how the treatment column behaves.
| Tier 1: Complete | Tier 2: Sweet Spot | Tier 3: Set for Years | |
|---|---|---|---|
| Total | About $350 | About $600 | About $850 |
| Microphone | $90 to $120 | $150 to $220 | $250 to $350 |
| Interface | $100 to $130 | $150 to $200 | $180 to $250 |
| Headphones | $50 to $70 | $90 to $130 | $130 to $180 |
| Treatment | About $110 (32%) | About $210 (35%) | About $340 (40%) |
| Accessories | About $40 | About $60 | About $80 |
| Sounds like | Clean, usable, releasable | Genuinely good | Hard to distinguish from a small pro room on vocals |
| Best for | First real setup | Most people reading this | Regular releases, client work |
Tier 2 is where I would point most people. It is the point where the setup stops having an obvious weak link, and the gap between Tier 2 and Tier 3 is much smaller than the gap between Tier 1 and Tier 2.
The treatment percentage climbing from 32 to 40 percent is the whole argument of this article. At $350, you are working around your room. At $850, you are removing it from the recording, and a $300 microphone in an untreated bedroom will sound worse than a $110 microphone in a properly absorbed corner. Every dollar you move from panels to microphone above Tier 1 is a dollar working against you.
The room process itself, as opposed to what to buy for it, is covered in home studio setup for singers.
Buy on Specs, Not Model Names
Model recommendations go stale within months, and prices move constantly. Specs do not. Here is what to look for in each category of home studio equipment, which will still be correct in three years.
Audio interface
Must have:
- A direct or zero-latency monitoring switch. Non-negotiable. This routes your voice to your headphones before the computer touches it, which eliminates the delay that makes people quit.
- Two inputs minimum, even if you only sing. A second input costs almost nothing, and you will want it.
- +48V phantom power for condenser mics.
- A native driver, meaning ASIO on Windows or class-compliant Core Audio on Mac. Generic drivers are the other main cause of latency complaints.
- A headphone output with its own level control.
Skip: single-input units, anything without direct monitoring, and anything requiring an unusual driver install.
Microphone
For a treated room: a large-diaphragm cardioid condenser. Look for an included shock mount, a switchable low-cut filter, and a pad.
For an untreated or noisy room: a cardioid or supercardioid dynamic. Dynamics reject room sound far better, and in a bad space a $100 dynamic beats a $250 condenser comfortably.
Skip: multi-pattern mics at the bottom of the budget, since you pay for patterns you will never use. Also skip tube microphones under roughly $250; the tube is there for the marketing, and the noise floor will be worse than a solid-state mic at the same price.
Headphones
Closed-back for tracking, because open-backs leak into the microphone. Open-back for mixing if you can eventually own both.
The spec that catches everyone out: impedance. Buy something in the 32 to 80 ohm range. Classic studio headphones rated at 250 or 600 ohms need a proper headphone amplifier to drive them, and plugged into a budget interface, they will sound thin, quiet, and lifeless. People assume the headphones are bad. The headphones are fine; they are simply not being fed enough voltage.
Also check that earpads and the cable are replaceable. That single feature roughly doubles the useful life of a pair.
Acoustic treatment
This is where the money should go, so it deserves the most detail. See the next section.
Stand and accessories
A boom arm with a proper counterweight, or a heavy tripod boom stand. Cheap stands droop over the course of a session, which quietly ruins your mic position between takes. Add a shock mount if the mic did not include one, a pop filter, and a decent XLR cable.
The NRC Trap
Here is the buying insight that separates useful treatment from decorative treatment, and almost nobody explains it.
Acoustic panels are usually sold on their NRC rating, a single number from 0 to 1. Higher looks better. The problem is what NRC actually measures.
NRC is the arithmetic average of a material's absorption coefficients at just four frequencies: 250, 500, 1000, and 2000 Hz. The testing behind it is standardised, and ASTM C423 is the reverberation room method used to produce those figures. So the number is real. It is just averaging the wrong range for your problem.
Your home recording problems live at 125 to 400 Hz. That is where boxiness comes from, where small rooms resonate, and where the mud in your vocal sits. NRC barely touches the bottom of that range and ignores everything below 250 Hz entirely.
The consequence is measurable. Real test data for one-inch panels shows absorption coefficients above 0.99 at 1000 and 2000 Hz while sitting around 0.07 at 125 Hz and 0.23 at 250 Hz. That panel can advertise an NRC of 0.75 and still do essentially nothing about the frequencies making your recordings sound boxy.
That is exactly why thin foam makes a room sound dull but still muddy. It kills the highs, which you notice immediately, and leaves the low-mids untouched.
What to do about it:
- Buy on thickness, not on NRC. Two inches minimum for wall panels. Four inches or more for corners.
- Gap-mount your panels. Leaving an air gap of an inch or two behind a panel meaningfully improves its low-frequency absorption for free.
- Treat corners. Low frequencies pile up there, and corner traps do more per dollar than flat wall panels in a small room.
- Ask for the per-frequency data, not just the headline number. Manufacturers who publish full absorption curves are usually the ones worth buying from.
- Mineral wool or fiberglass cores outperform thin foam substantially at the frequencies that matter.
Understanding why those frequencies matter so much is easier once you have seen the vocal frequency map in EQ and compression on vocals, which covers the same range from the mixing side.
The Boring Stuff Outlives the Exciting Stuff
A counterintuitive pattern worth planning around: the cheap, unglamorous items in your studio will still be there in ten years, and the expensive centrepieces will not.
| Item | Realistic lifespan | Strategy |
|---|---|---|
| Boom arm or mic stand | 10+ years | Buy up. Cheap ones sag, and you replace them twice. |
| Acoustic panels | 10+ years | Buy up. Thickness cannot be added later. |
| XLR cables | 10+ years | Mid-range. Avoid the very cheapest. |
| Pop filter | 5+ years | Cheap is genuinely fine. |
| Headphones | 5 to 8 years | Mid to upper, and insist on replaceable parts. |
| Audio interface | 3 to 6 years | Mid. Driver support ages out before the hardware does. |
| Microphone | 3 to 5 years before you want another | Buy the cheaper option. You will upgrade, and that is fine. |
So the rational move at every tier is to spend a little more on the stand and the panels, and a little less on the microphone. That is the opposite of how almost everyone shops, and it is why so many home studios contain a nice mic on a drooping stand in a bare room.
Used versus new. Microphones, stands, panels, and cables buy well used, since they have no software dependency and their condition is visible. Interfaces are riskier, because driver support gets dropped and USB ports wear. Headphones are riskier still, since earpad compression and hidden driver damage are hard to assess.
Interfaces, microphones, and headphones I buy from zZounds, mainly because their pay-over-time plans carry no interest, which is what makes a Tier 2 build achievable in a single month rather than a saved-up quarter. Panels, blankets, stands, cables, and pop filters are usually cheaper on Amazon.
Your Software Costs Nothing
Do not allocate any of your budget to a DAW. Free options handle full commercial releases, and the stock EQ, compression, and pitch tools in the good ones are entirely sufficient.
Pick your software before your interface, because a couple of the free options have specific compatibility quirks worth knowing in advance. The comparison, scored on singer-relevant features rather than producer ones, is in the best free recording software for singers.
Where the Gear Stops Mattering
This is the honest ceiling, and it is worth naming because it is the point of the whole build.
Somewhere around $650 of home studio equipment in a properly treated room, additional spending on vocal equipment stops producing audible improvement. Not "diminishing returns." Actually inaudible, in a blind comparison, on a single voice.
Past that line, every remaining difference between your recordings and the ones you are comparing them to comes from three things: the room, which you have now handled; the mix, which is a learnable skill; and the performance, which is the only one that keeps improving indefinitely.
Two of those three are covered elsewhere on this site. The capture process is in how to record vocals at home, and if you reach the point where you are wondering whether to buy services rather than gear, DIY vs professional studios breaks down which studio services are worth paying for separately.
The third one is you, and at this budget tier it is genuinely the limiting factor for most people.
Do the free thing first. Singing Carrots runs a browser-based range test that maps your comfortable zone rather than just your outer limits. Ten minutes, no cost, and discovering that your material sits two semitones above your best range will improve your recordings more than the entire jump from Tier 1 to Tier 3.
Then, if a specific gap shows up:
- Your recordings sound thinner than you sound in the room. Roger Love's program is built around how a voice reads on a recording, which is the exact problem.
- Your takes vary too much to comp cleanly. 30 Day Singer for daily structured practice, at a monthly cost well below any component on this page.
- Breath runs short and phrases thin out. Singorama covers breathing, pitch, and tone as one system.
- Strain on belted or high passages. Robert Lunte / The Vocalist Studio for rock, metal, and heavy belting.
- You cannot reliably hear whether a take is in tune. EarMaster for pitch and interval training, which is the skill underneath every self-assessment you make.
I would rather you spent Tier 2 money and fixed the fourth purchase later than spent Tier 3 money on gear that cannot help with what is actually holding you back.
Common Mistakes
Buying everything in one order. You cannot know your bottleneck before you record. Spread it out.
Treating acoustic treatment as the optional item. It is the item whose share should grow fastest as your budget grows.
Buying panels on NRC alone. Covered above. Thickness beats headline ratings.
High-impedance headphones on a budget interface. They will sound broken, but they are not.
Skipping the boom arm. A mic you cannot position at mouth height, angled slightly off-axis, is a mic you cannot use properly.
Buying a condenser for a loud, untreated room. A dynamic is the correct choice there, and it costs less.
Upgrading the mic to fix a room problem. This is the single most common expensive mistake in home recording, and a better mic actively makes it worse.
Spending on plugins. Stock plugins are fine. Monitoring and treatment are not optional; plugin bundles are.
Frequently Asked Questions
What is the best home studio equipment for singers?
For most singers, the best home studio equipment is a Tier 2 build at around $600: a large-diaphragm condenser, a two-input interface with direct monitoring, closed-back headphones in the 32 to 80 ohm range, and roughly $210 of acoustic treatment. Software should cost nothing.
How much should I spend on a home studio for vocals?
Between $350 and $850 covers everything most singers will ever need for vocal recording. Past roughly $650 of gear in a treated room, further spending on vocal equipment stops being audible on a single voice.
What should I buy first for a home vocal studio?
Acoustic treatment and headphones, before the microphone. Treatment is the highest-impact purchase at every budget level, and buying it first means the mic you buy second is actually worth what you paid.
Do I need an expensive microphone to sound professional?
No. A microphone in the $90 to $220 range in a treated space outperforms a far more expensive mic in an untreated room. Condensers in particular capture room reflections in greater detail, so an untreated room punishes better microphones harder.
Are cheap acoustic foam panels worth buying?
Generally not. Thin foam absorbs high frequencies well and does very little below 250 Hz, which is where the boxiness in home recordings actually lives. Two-inch or thicker panels with a mineral wool or fiberglass core are a much better use of the same money.
How much of my budget should go to acoustic treatment?
Roughly a third at $350, rising to about 40 percent at $850. The share should increase as your budget grows, because more sensitive microphones capture room problems in more detail rather than less.
Your Next Step
The best home studio equipment for singers is not a shopping list; it is a sequence and a set of proportions. Treatment and headphones first, mic and interface second, the unglamorous layer third, and your own accumulated frustration deciding the fourth. Buy thickness over headline ratings, buy specs over model names, and let the treatment share grow as the total grows.
Before you spend anything, clap once in each room of your home and pick the deadest one. That sixty-second test determines how much of your budget belongs in panels, which is the decision every other line item depends on.
Then work through the rest of the recording and music production guides for singers, where every stage from room setup through release is laid out in order.