If you want to know how to record vocals at home and end up with something that sits comfortably next to a commercial release, the answer is this: deaden one small corner of your room, place the mic 6 to 8 inches away and slightly off to the side of your mouth, set your gain so the loudest notes peak around -12 dBFS, and record five full passes instead of one. Those four decisions account for most of the gap between amateur and professional. The microphone you buy matters far less than anyone selling you a microphone will admit.
I want to be blunt about that last point, because it is where almost everyone burns their first $400.
Quick answer box
The 4 things that decide your vocal quality, in order:
- The take you choose (performance)
- The room you record in (reflections)
- Where the mic sits relative to your mouth
- The gear itself
A $79 mic in a treated closet will beat a $700 mic in a bare living room. Every single time.
Some links on this page are affiliate links. If you buy through them, we may earn a commission at no additional cost to you.
Why Most Home Vocal Recordings Sound Amateur
Untrained ears cannot always name what is wrong with a home recording, but they can hear it instantly. It sounds small. Boxy. Slightly distant, like the singer is standing three feet inside a shoebox.
That sound is not a microphone problem. It is a reflection problem. Your voice leaves your mouth, hits the drywall behind the mic, bounces back, and arrives at the capsule a few milliseconds after the direct sound. The mic records both. Your brain hears the comb filtering and files it under "homemade."
Here is the framework I use when someone sends me a rough vocal and asks what to fix. I call it the Vocal Quality Stack, and the impact ratings below are my own editorial scoring based on what actually changes when you fix each layer.
| Layer | What it controls | Impact rating (1-10) | Typical cost to fix |
|---|---|---|---|
| Performance and take selection | Emotion, pitch, timing, consistency | 10 | $0 to $30/mo |
| Room treatment | Boxiness, reflections, "small" sound | 9 | $0 to $150 |
| Mic placement and technique | Plosives, sibilance, tone, proximity | 8 | $0 |
| Microphone and interface | Detail, noise floor, headroom | 4 | $120 to $600 |
| Processing (EQ, comp, reverb) | Polish, glue, space | 3 | $0 |
Notice the shape of that table. The three highest-impact layers are nearly free, and the layer people spend the most money on ranks fourth. Beginners work this list bottom to top. Professionals work it top to bottom.
If you have not set up your space yet, start with our full walkthrough on home studio setup for singers, then come back here for the tracking process.
How to Record Vocals at Home in 7 Steps
This is the exact sequence I run, in order, every time. Skipping steps 1 and 2 is why most people never get past "decent."
Step 1: Run the clap test before you buy anything
Stand in the middle of the room you plan to record in. Clap once, hard, and listen to the tail.
If you hear a short ringing sound after the clap, that is flutter echo, and it will end up baked into your vocal. Walk into a closet full of hanging clothes and clap again. Notice how the sound just stops? That is what you want.
Do this in every room in your home and rank them. Take 60 seconds. It will save you $300.
Step 2: Build your booth in the deadest corner you found
You do not need a real vocal booth. You need to stop first reflections from reaching the mic.
Cheapest version that actually works: hang a thick moving blanket on the wall behind the mic, stand a foot or two off that wall, and put a duvet or another blanket on a mic stand behind your head. Two absorptive surfaces, front and back. That is 80 percent of the benefit.
Better version: two to four acoustic panels behind the mic, plus a rug on the floor and something soft on the ceiling above the mic if you can manage it. Corner bass traps help more than people expect in small rooms.
What I would skip: those cheap foam "reflection filters" that clamp onto the mic stand. They do something, but not much, and they make the vocal sound nasal in a way that is hard to undo later.
Gear for this step:
- Acoustic panels and bass traps on Amazon; start with 6 panels
- Moving blankets on Amazon, the cheapest real absorption you can buy
Step 3: Set gain so your loudest note peaks near -12 dBFS
Record at 24-bit. A sample rate of 44.1 kHz or 48 kHz is fine; anything higher is a hard drive tax with no audible payoff for vocals.
Now sing the loudest, most aggressive line in the song, not a polite test line, and watch your meters. You want peaks landing between -12 and -6 dBFS. That leaves headroom for the note you did not plan on belting.
Clipping is unfixable. Recording too quietly is fine in 24-bit; you have enough resolution that a quiet take normalizes cleanly. When in doubt, go quieter. The Audio Engineering Society maintains the professional standards this practice comes from, and their technical resources are worth reading if you want to go deeper into gain structure and metering.
Step 4: Find your mic position
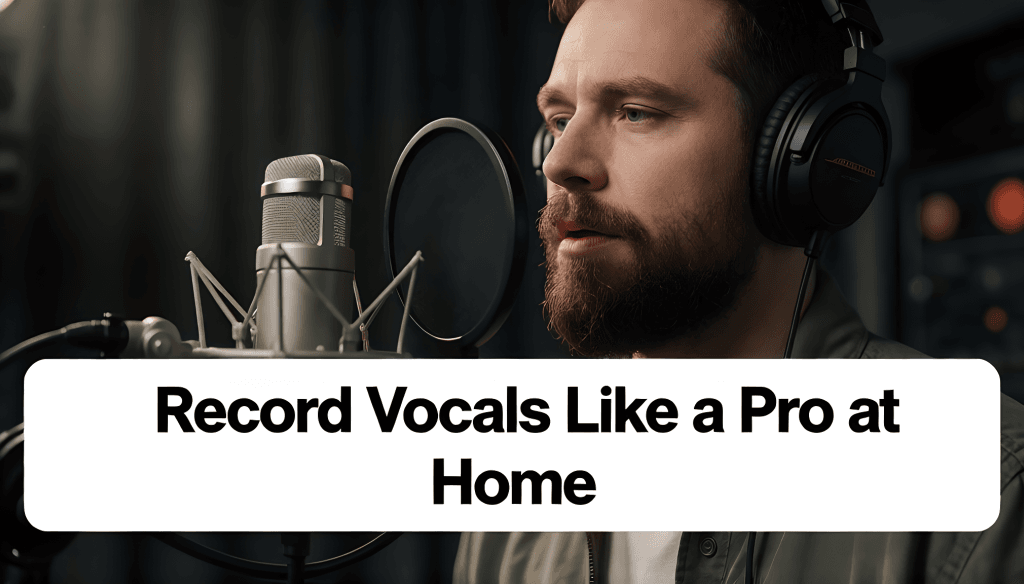
Start here: mic at mouth height or just slightly above, pointed down at your mouth, 6 to 8 inches away, rotated 10 to 20 degrees off-axis so you are not singing straight into the capsule.
That off-axis angle is the single most underrated trick in home vocal recording. It cuts plosives dramatically and tames harsh sibilance without touching an EQ.
Then experiment with three variations and actually listen back:
- 4 inches, straight on. Thick, intimate, heavy proximity effect. Great for breathy pop and R&B.
- 8 inches, off-axis. Balanced and safe. Your default.
- 12 to 14 inches, slightly above. Open and roomy. Best for powerful belting and classical, assuming your room is treated.
Always use a pop filter, positioned about three inches from the mic, not touching it.
Step 5: Track a scratch pass, then five real ones
Sing one throwaway take to warm up and to set your headphone mix. Do not keep it.
Then record five complete passes of the song, top to bottom, without stopping to fix anything. Five. Not one perfect take you punch in forty times.
This is the part that separates the results, and it costs nothing. Take four is almost always better than take one, because by then you have stopped thinking about the microphone. Comping five full passes gives you a natural, connected performance. Punching endlessly gives you a Frankenstein vocal that sounds technically clean and emotionally dead.
If you are stacking harmonies or thickening the chorus, record those separately after you have locked the lead. Our guide to layering vocals and double-tracking covers exactly how many stacks each section needs.
Step 6: Comp the best take
Line up your five passes and go line by line, sometimes word by word. Pick the version with the best emotion first, not the best pitch. Pitch is fixable. Feeling is not.
Label your comp choices as you go. When you come back tomorrow with fresh ears, you will want to know why you chose take 3 for the second verse.
Step 7: Process last, and only to solve a problem
Do not open a plugin until the comp is finished. Then work in this order: subtractive EQ, compression, de-essing, additive EQ, then time-based effects.
Each of those has a full guide on this site. Start with EQ and compression on vocals, which is where 90 percent of the audible improvement happens.
The Gear That Actually Matters
Less than you think. The minimum kit is a microphone, an interface with direct monitoring, closed-back headphones, and something soft to deaden your corner. If you only want to find out whether you enjoy recording, your phone and a closet full of clothes will tell you for free.
What to buy, and in what order, has its own guide. Our breakdown of the best home studio equipment for singers splits it into three tiers from $350 to $850 and shows why the room deserves a bigger share of the money as your budget grows.
For microphones and interfaces, I buy audio gear from zZounds because of their pay-over-time plans with no interest, which is genuinely useful when a good interface costs more than your rent budget allows in one month. For acoustic treatment, cables, stands, and pop filters, Amazon is usually cheaper and faster.
Working with a tight budget? We priced out a complete setup - how to record vocals under $200, including the specific compromises worth making and the ones that will bite you.
Not sure which DAW to use? The best free recording software for singers compares the actual free options, not trial versions pretending to be free.
Mic Technique: The Part No Purchase Fixes
You can buy a better room. You cannot buy better mic technique.
Move with your dynamics. When you push into a loud passage, lean back two or three inches. When you drop to a whisper, lean in. Studio singers do this instinctively, and it keeps your compressor from having to work miracles.
Kill plosives at the source. Angle slightly off-axis, use the pop filter, and consciously soften your P and B consonants. If a plosive still ruins a word, re-sing that line rather than fixing it later; a high-pass filter aggressive enough to remove a bad plosive also removes chest.
Watch your sibilance. Harsh S sounds usually come from singing directly into the capsule with a bright mic. Rotate the mic; do not reach for the de-esser first.
Fix pitch in your body, not in software. This is where most home recordings quietly fall apart. If your ear is not locked in, no plugin will make your vocal sound professional; it will make it sound processed.
If that last one hits close, the fastest fixes I have seen are:
- EarMaster for structured ear training. If you consistently drift flat on sustained notes, this is the actual root cause, and it is trainable.
- Singing Carrots for free pitch monitoring and range testing so you can see in real time where you are drifting.
- 30 Day Singer if you want guided daily practice with video lessons rather than theory.
- Roger Love's program if your issue is tone and delivery rather than accuracy. He works with a lot of recording artists, and the approach is very much about how a voice reads on a record.
- Singorama is an all-in-one course covering technique, breathing, and pitch together.
- Robert Lunte / The Vocalist Studio if you sing rock, metal, or anything with heavy distortion and belting, and you need real technical training to survive multiple takes.
Which one do you need? If you can hear the pitch problem but cannot fix it, train your voice. If you cannot hear it, train your ears first. Those are two different purchases, and buying the wrong one can waste time.
Common Home Vocal Recording Mistakes
I hear these constantly in mixes people send me.
Monitoring with speakers instead of headphones. Bleed gets into the mic, and you cannot remove it. Closed-back headphones, always, and keep the volume moderate.
Recording with reverb printed to the track. Reverb on the monitor mix helps you sing better. Reverb committed to the recording is permanent. Keep it on the send.
Standing too far back "to get more room." Your room is not a room worth capturing. Get closer.
One take, endlessly punched. Covered above, but it deserves repeating because it is the most common single mistake.
Tracking cold. Warm up for at least ten minutes before the mic goes live. Your first take being unusable is not a talent problem; it is a physiology problem.
Fixing tone with plugins that should have been fixed with position. Boxy means room. Harsh means angle. Thin means distance. Reach for the mic stand before the EQ.
If your recordings are technically clean but still lack that finished quality, the follow-up read is how to make your voice sound better in recordings, which digs into the tonal side specifically.
Frequently Asked Questions
Can you really learn how to record vocals at home and get professional results?
Yes. The limiting factors are room reflections and performance, and both are solvable at home for under $200. The gap between a treated bedroom and a commercial studio is much smaller than the gap between an untreated bedroom and a treated one.
What is the best mic for recording vocals at home?
For most singers, a large-diaphragm condenser in the $100-$200 range. Beyond that price point, improvements are real but small, and they will be completely masked by an untreated room. Fix the room first, then upgrade.
How far should I stand from the microphone?
Six to eight inches for most voices and most songs, angled slightly off-axis. Move closer for intimacy, further back for power.
Why do my home recordings sound thin compared to songs on Spotify?
Usually three causes stacked together: too much distance from the mic, an untreated room adding early reflections, and no compression or EQ afterward. Commercial vocals are also layered and doubled far more than people realize.
Do I need an audio interface or is USB fine?
USB mics are genuinely fine for demos, vocal reels, and content. Move to an XLR mic plus an interface when you want to upgrade the mic and preamp independently, or when you need to record more than one source.
How many takes should I record?
Five full passes minimum, comped afterward. This one habit will improve your recordings more than any piece of gear on this page.
Your Next Step
Learning how to record vocals at home is sometimes a process of removing problems rather than adding equipment. Treat one corner, get the mic placement right, set conservative gain, sing it five times, then process last. That sequence works with a $79 mic and a $2,000 mic.
Do the clap test today. It takes a minute, and it tells you exactly where your studio should live.
Then work through the rest of the recording and music production guides for singers, where every stage from setup to release is broken down step by step.